Open a tunnel (port forwarding)
A tunnel opens a port on your Mac that reaches something the server can reach, such as a database or an internal web page. Or the other way round. It goes through the host’s connection, so nothing else needs to be open.
Steps
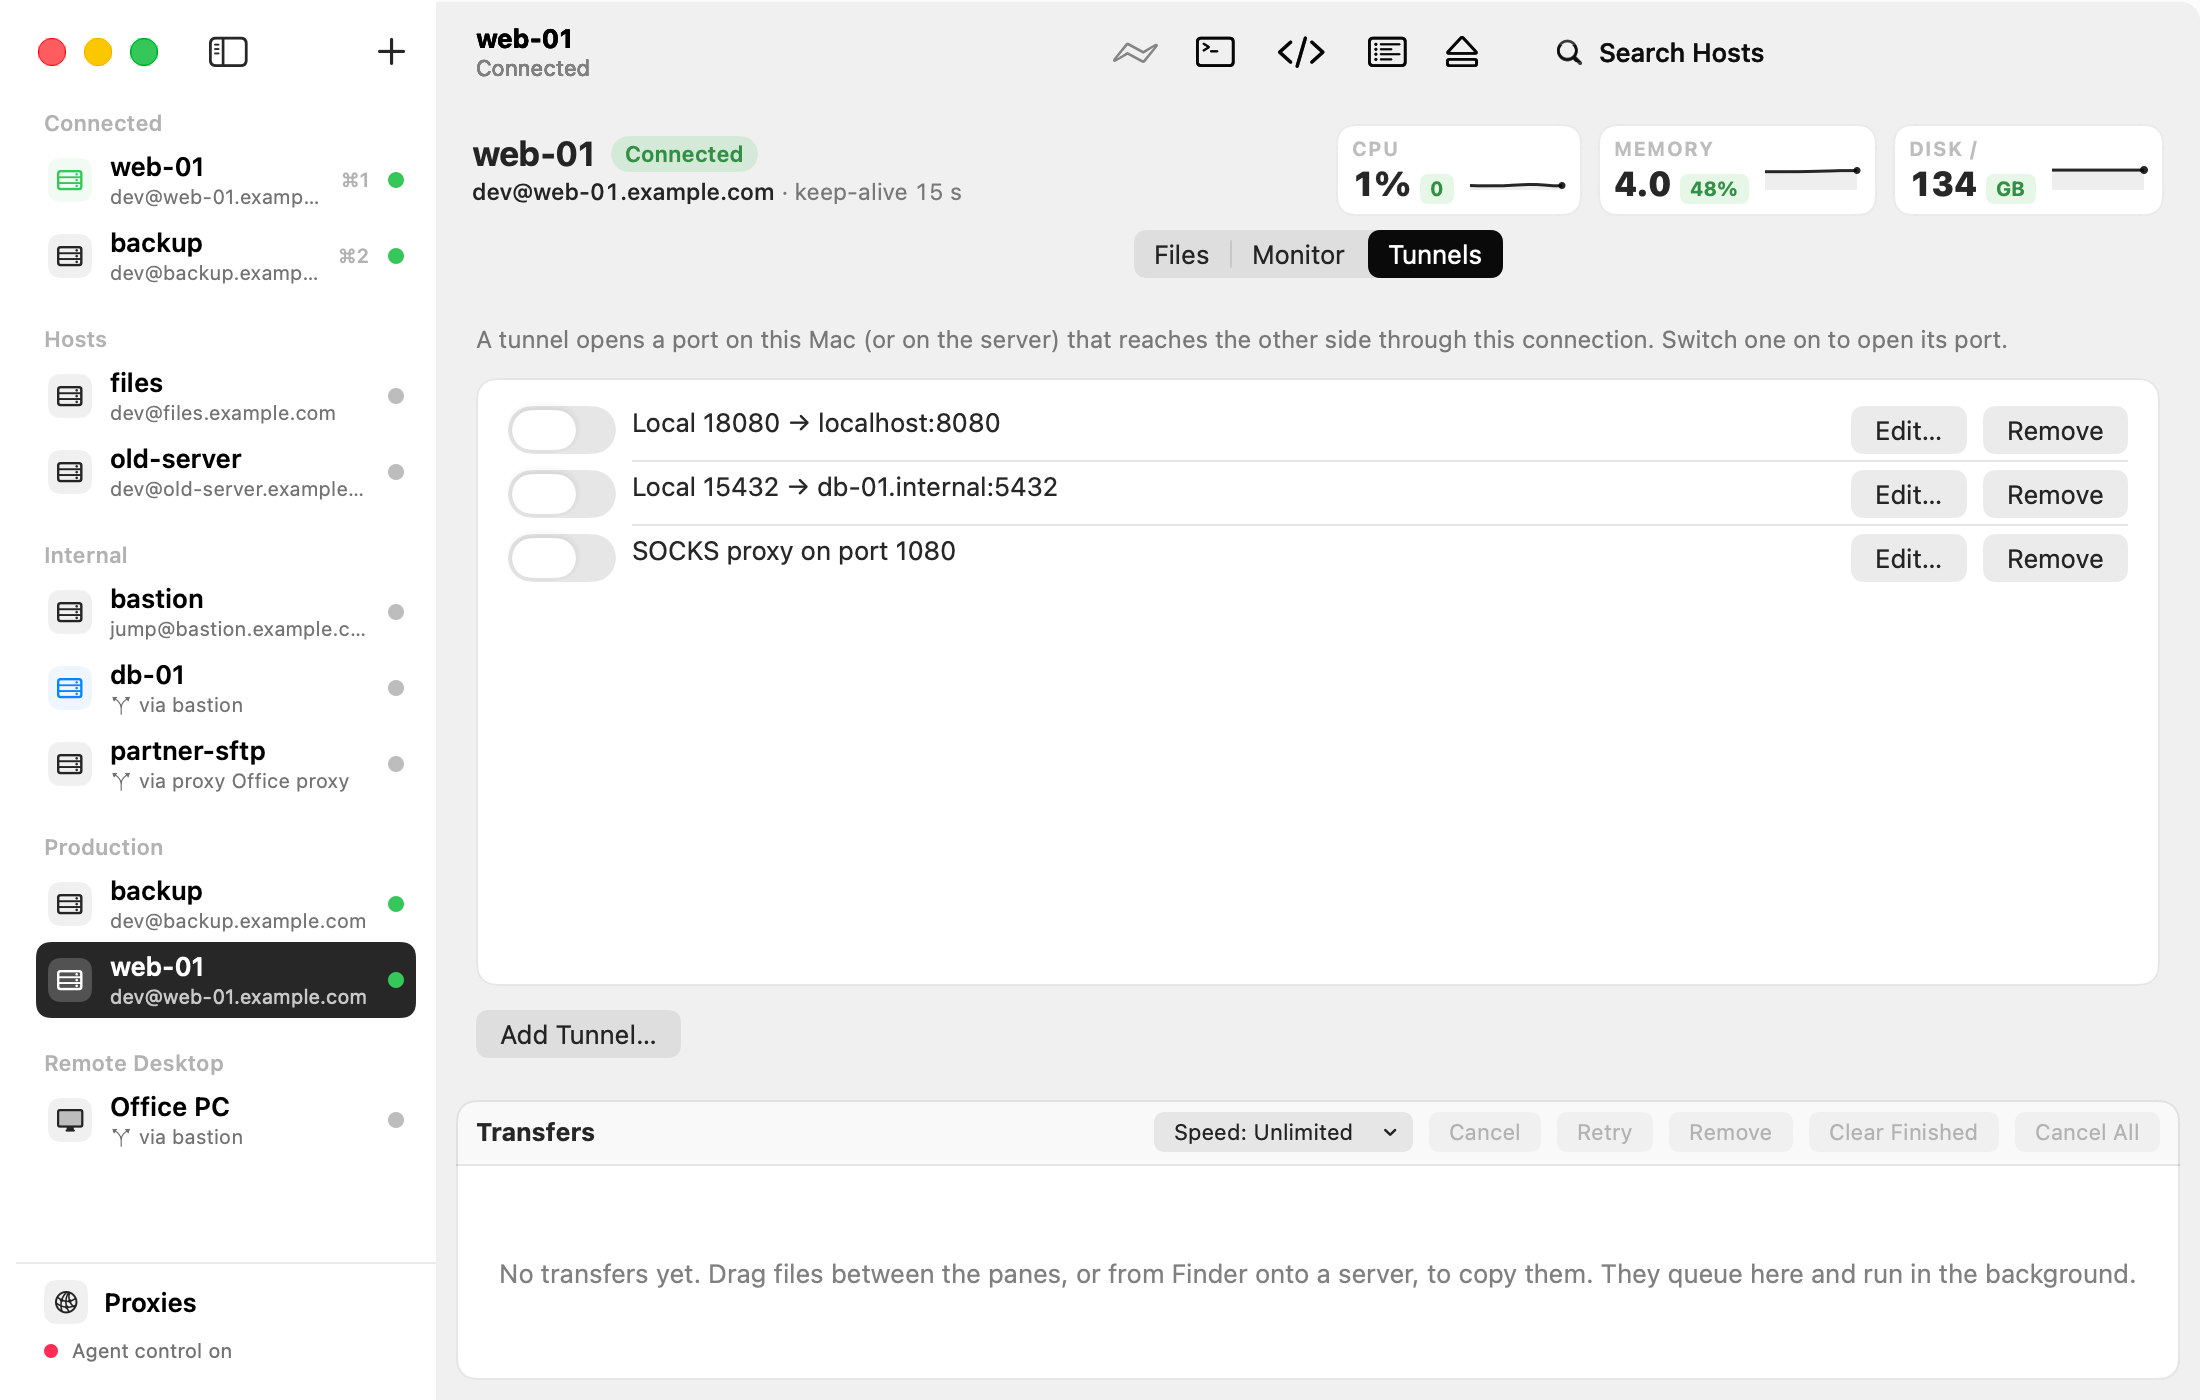
- Connect to the server and click the Tunnels tab.
- Click Add Tunnel….
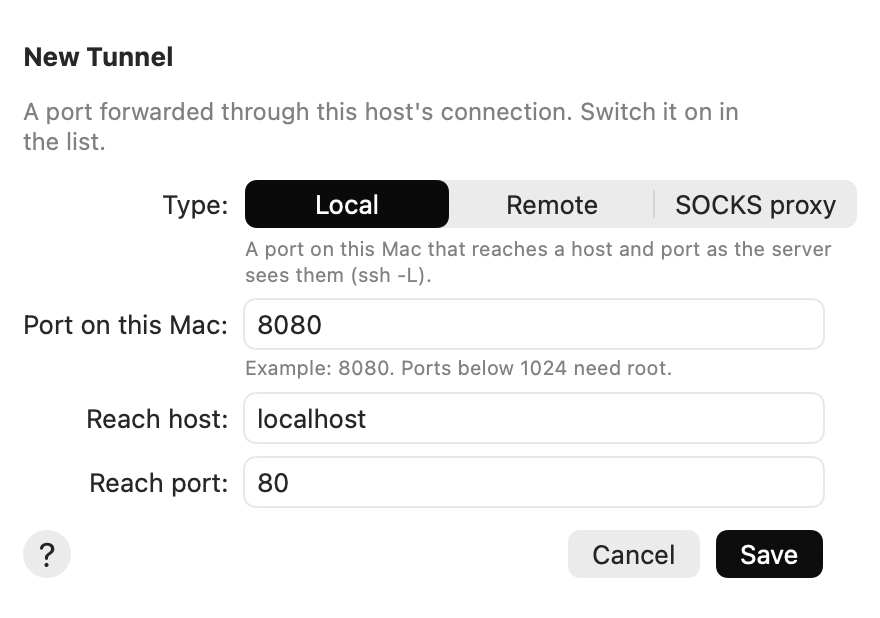
- Choose the Type:
- Local: a port on this Mac reaches a host and port as the server sees them (ssh
-L). - Remote: a port on the server reaches a host and port as this Mac sees them (ssh
-R). - SOCKS proxy: a proxy for apps on your Mac; their traffic leaves through the server (ssh
-D).
- Local: a port on this Mac reaches a host and port as the server sees them (ssh
- Type the Port on this Mac (or on the server), then Reach host and Reach port.
- Click Save, then switch the tunnel on in the list.
Examples
| You want | Type | Port on this Mac | Reach host | Reach port |
|---|---|---|---|---|
| The server’s own web admin page | Local | 8080 | localhost | 80 |
| A database the server can reach | Local | 15432 | db-01.internal | 5432 |
| Browse as if you were in the server’s network | SOCKS proxy | 1080 |
With the first example on, open http://localhost:8080 in your browser.
Tips
localhostin Reach host means the server itself (Local) or this Mac (Remote).- Ports below 1024 need administrator rights: use 1024 and above.
- Your Mac’s end listens on 127.0.0.1 only, so other computers can’t use your tunnel.
- All tunnels go off when the connection ends. When AirSCP reconnects by itself, it switches on again the ones that were on; after you reconnect, switch them on yourself.
- A tunnel can be edited only while it is off.
If something goes wrong
- “The port … is already in use on this Mac”: another program or tunnel listens on it. Choose another port.