Install AirSCP
AirSCP runs on macOS 13.1 or later, on Apple silicon and Intel Macs. You need nothing else: AirSCP uses the ssh tools that come with macOS.
Steps
-
Install with Homebrew:
brew install --cask kleash/tap/airscpOr download the newest AirSCP zip file from the Releases page, open it, and drag AirSCP into your Applications folder.
- Open AirSCP from your Applications folder or with Spotlight. The first time, macOS says “AirSCP” Not Opened: Apple could not check it for malware, because AirSCP 1.0.0 isn’t notarized yet. Click Done, then:
- Open System Settings ▸ Privacy & Security and scroll down.
- Next to “AirSCP” was blocked to protect your Mac, click Open Anyway.
- Confirm that you want to open it, with your password or Touch ID if macOS asks.
From then on AirSCP opens like any app. On macOS 14 or earlier you can instead right-click AirSCP in your Applications folder, choose Open, then click Open.
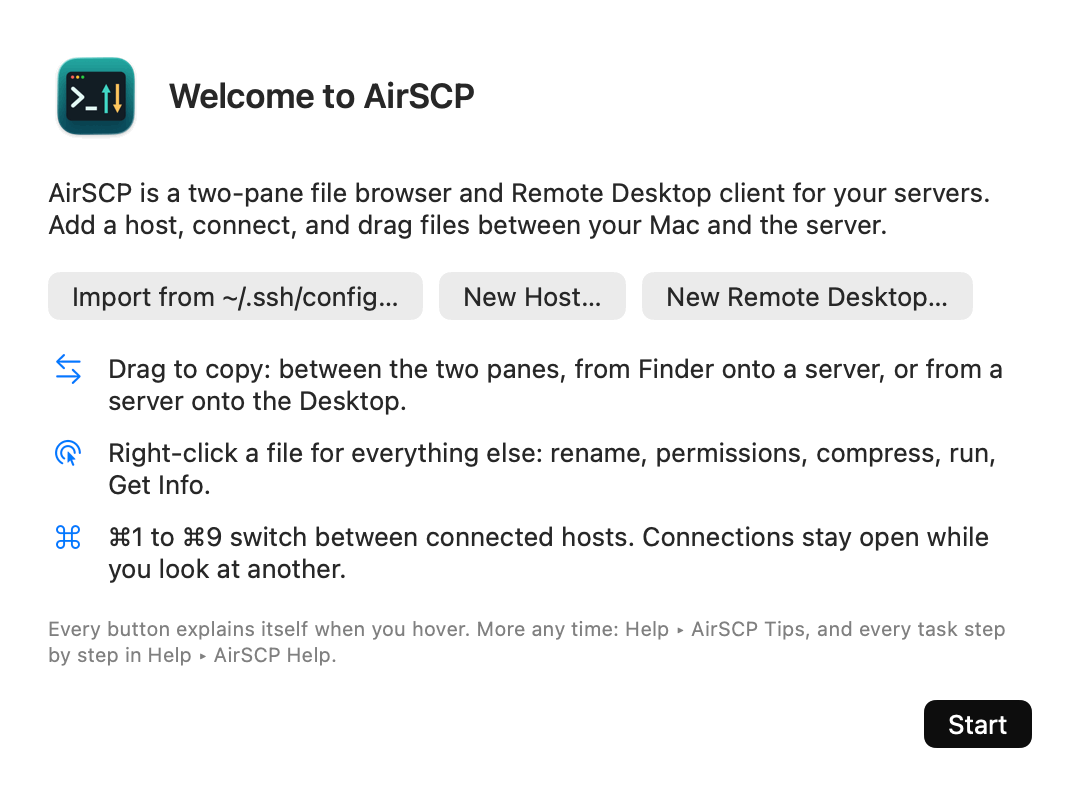
- The Welcome to AirSCP sheet opens. Choose what you want to do first:
- Import from ~/.ssh/config… if you already use ssh in Terminal.
- New Host… to add one server.
- New Remote Desktop… to add a Windows computer.
- Start to look around first.
Tips
- AirSCP has no account and no sign-up. Your hosts stay on your Mac.
- The welcome sheet comes only once. Open it again with Help ▸ Welcome to AirSCP….
- Short tips are always in Help ▸ AirSCP Tips.
If something goes wrong
- macOS asks whether AirSCP may use your Keychain. This can happen the first time AirSCP reads a saved password. Choose Always Allow. AirSCP waits until you answer.
- macOS asks whether AirSCP may find devices on your local network. This is for Remote Desktop and servers on your network. Choose Allow.
- More: Troubleshooting.