Connect to your first server
Save a server once, then connect with one click. You need the server’s address and your user name on it. Your server admin or hosting company gives you these.
Steps
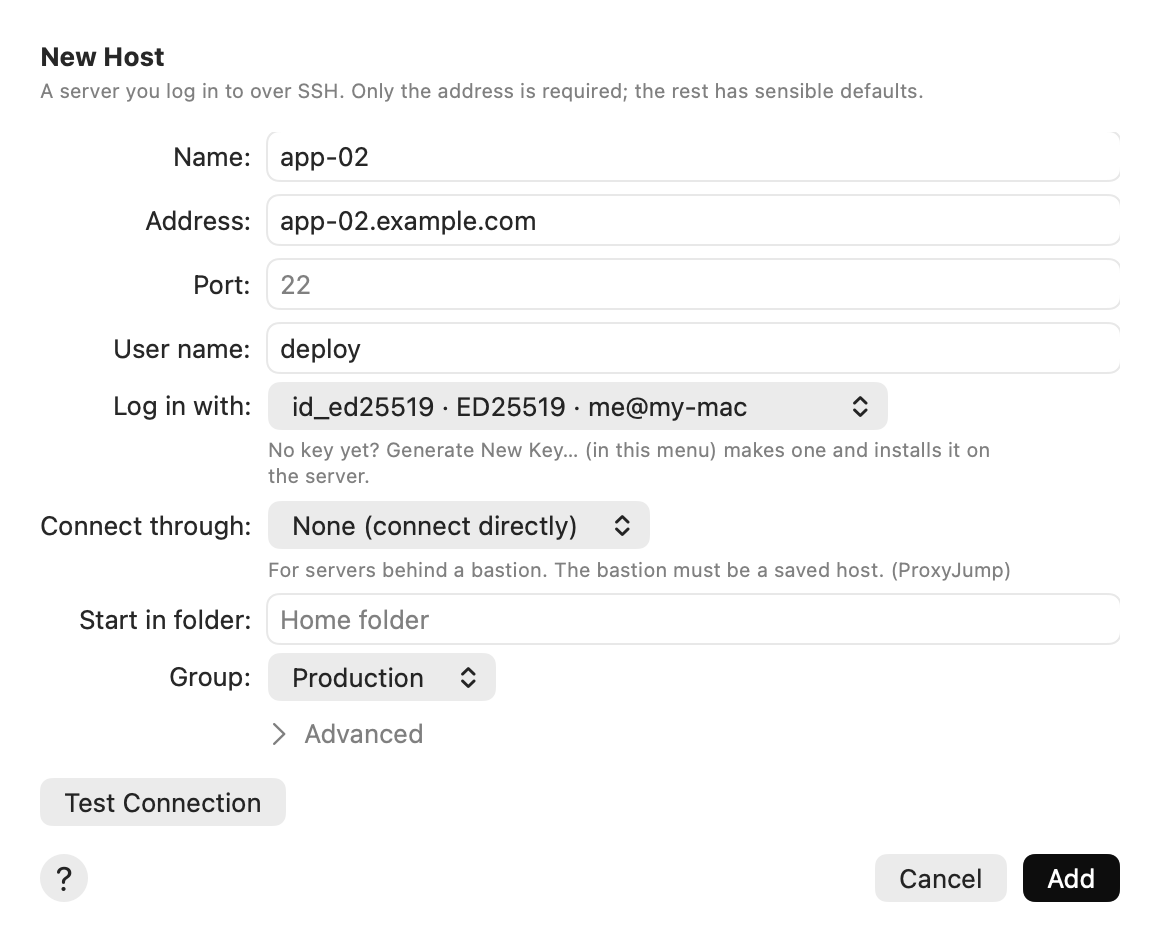
- Choose File ▸ New Host… (or click + in the toolbar).
- Type the server’s Address, for example
web-01.example.comor192.168.1.20. - Type your User name on the server.
- Under Log in with, choose your key, or Password. Not sure? Leave the default: it tries the keys in
~/.ssh. -
Click Add. The server appears in the sidebar.
- Double-click the server in the sidebar (or select it and press ⌘K).
-
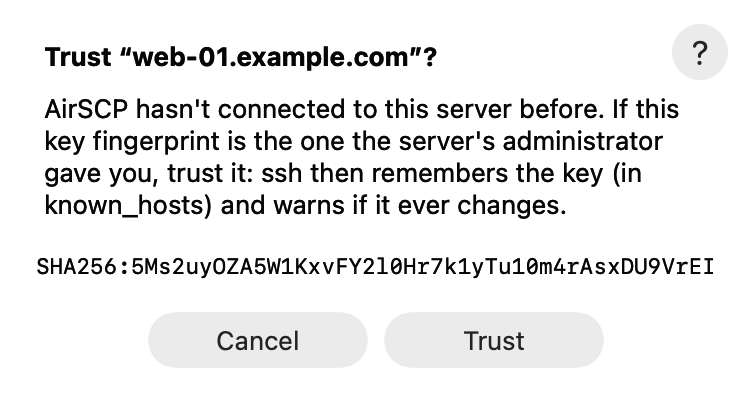
The first time, AirSCP shows the server’s key fingerprint and asks Trust “…”?. Click Trust if it is the server you expect. Read more in Trust a server the first time.
- If the server asks for a password, type it. Tick Remember in Keychain if you don’t want to type it again.
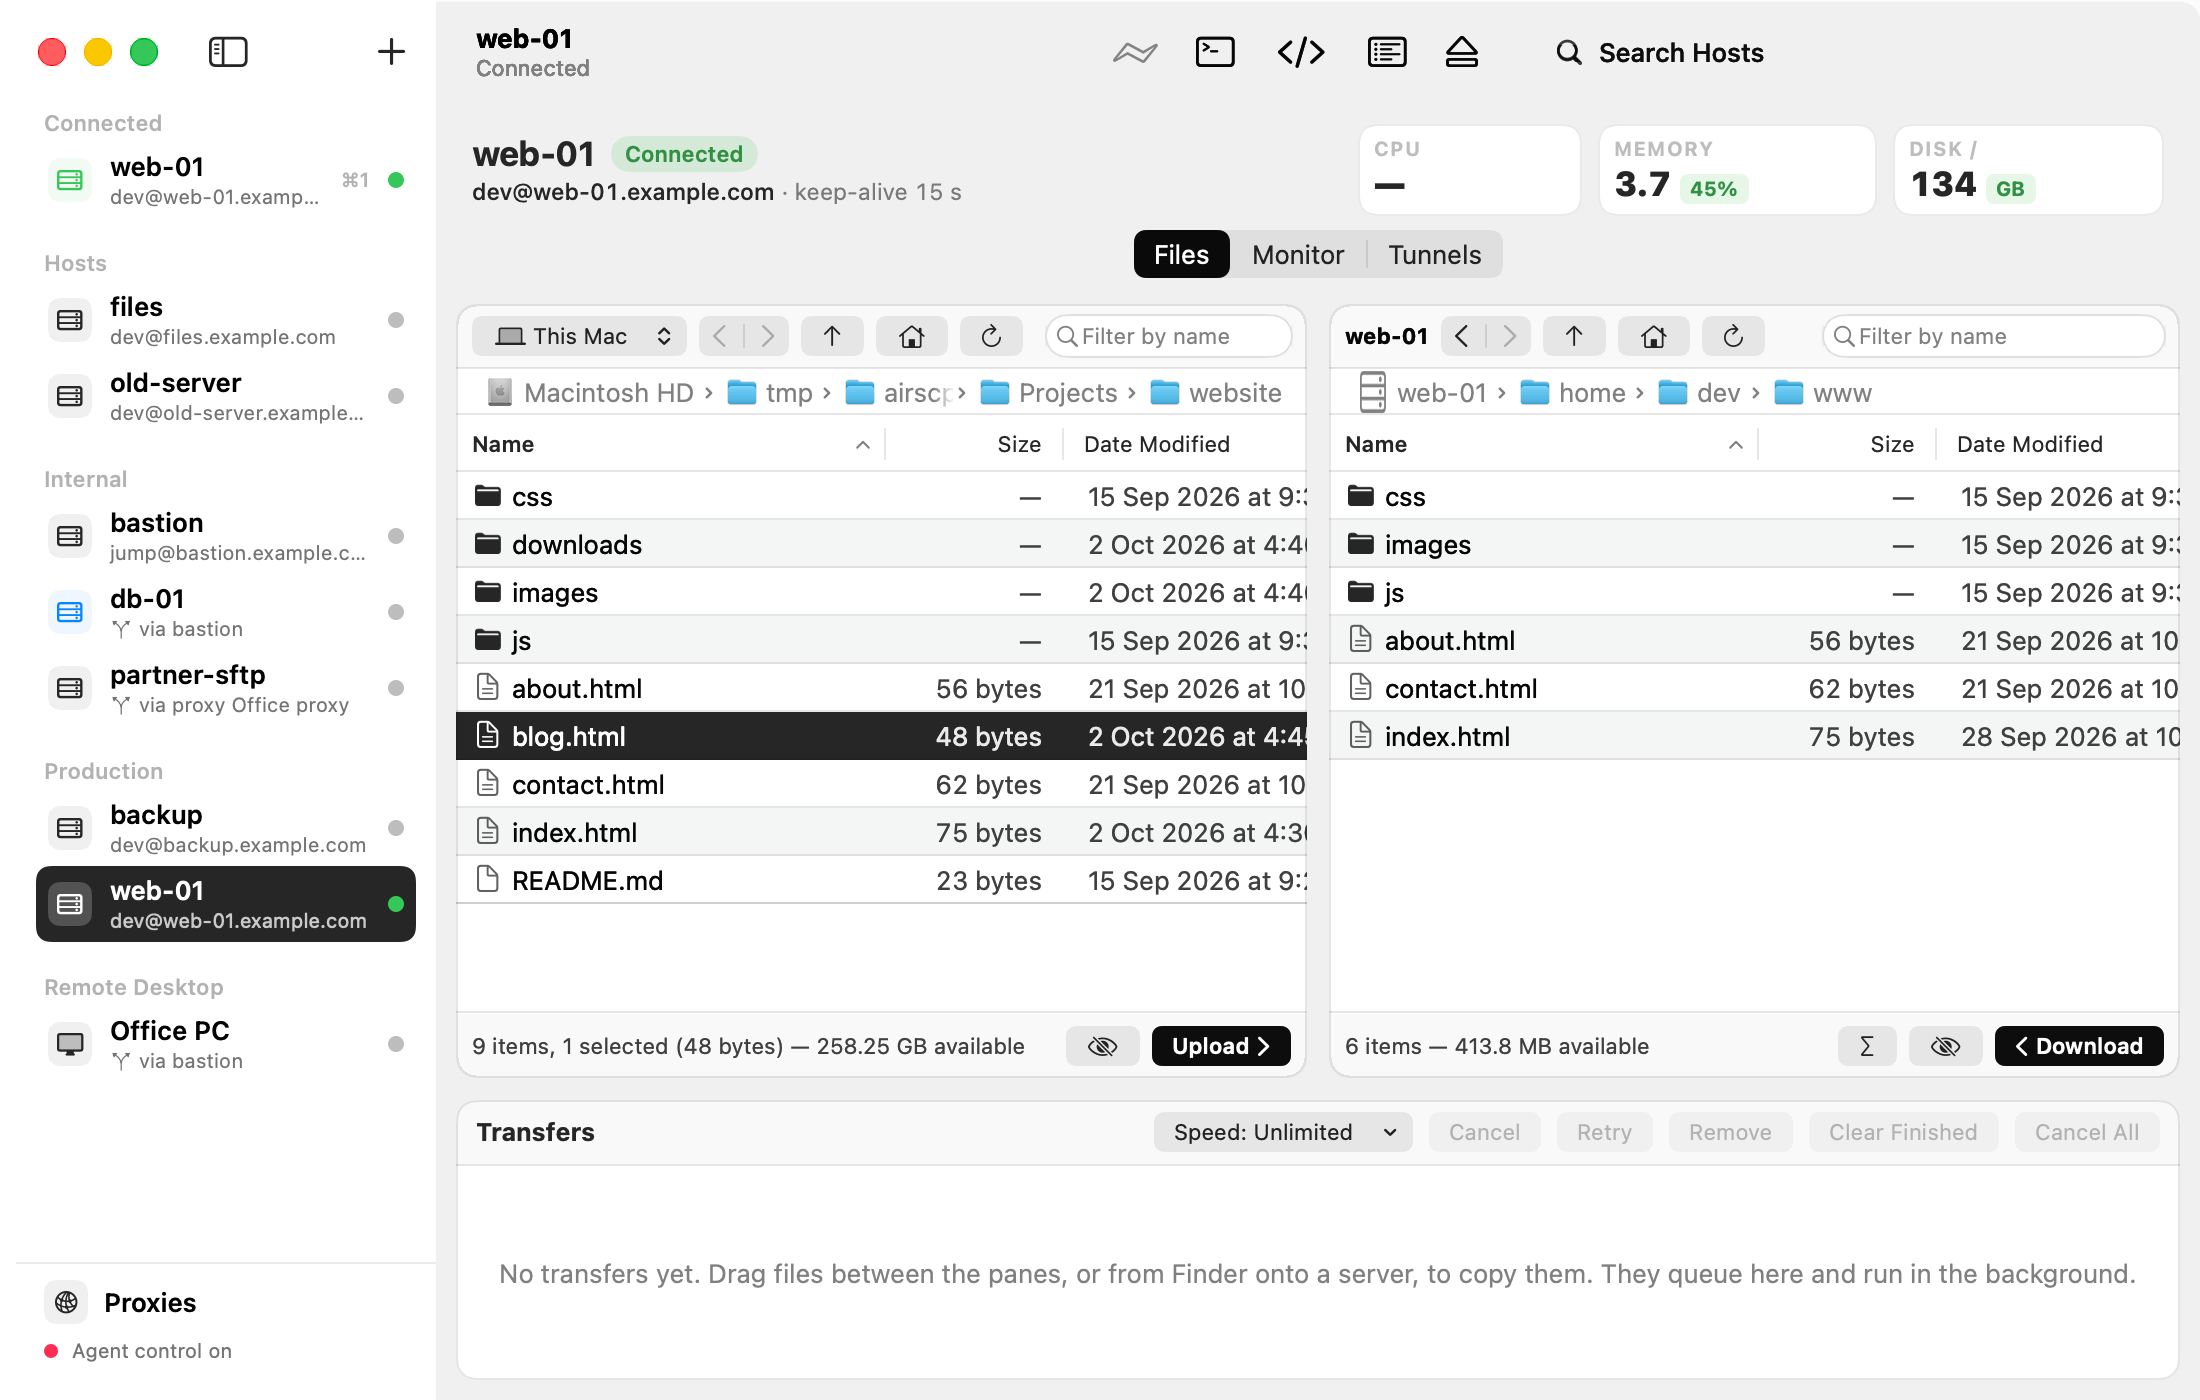
Now you see your Mac’s files on the left and the server’s files on the right.
Tips
- Only the address is required. Everything else has a sensible default.
- Test Connection in the sheet logs in once, without saving, so you can check your settings.
- Behind a bastion? See Connect through a jump host.
If something goes wrong
- “Can’t connect”: check the address and the port. The message says what went wrong, and Details shows ssh’s own words.
- The password is not accepted: check the user name in the host’s settings (Host ▸ Edit…).
- More: Troubleshooting.